
Bob’s Chimney
Chimney Flashing Repair Services
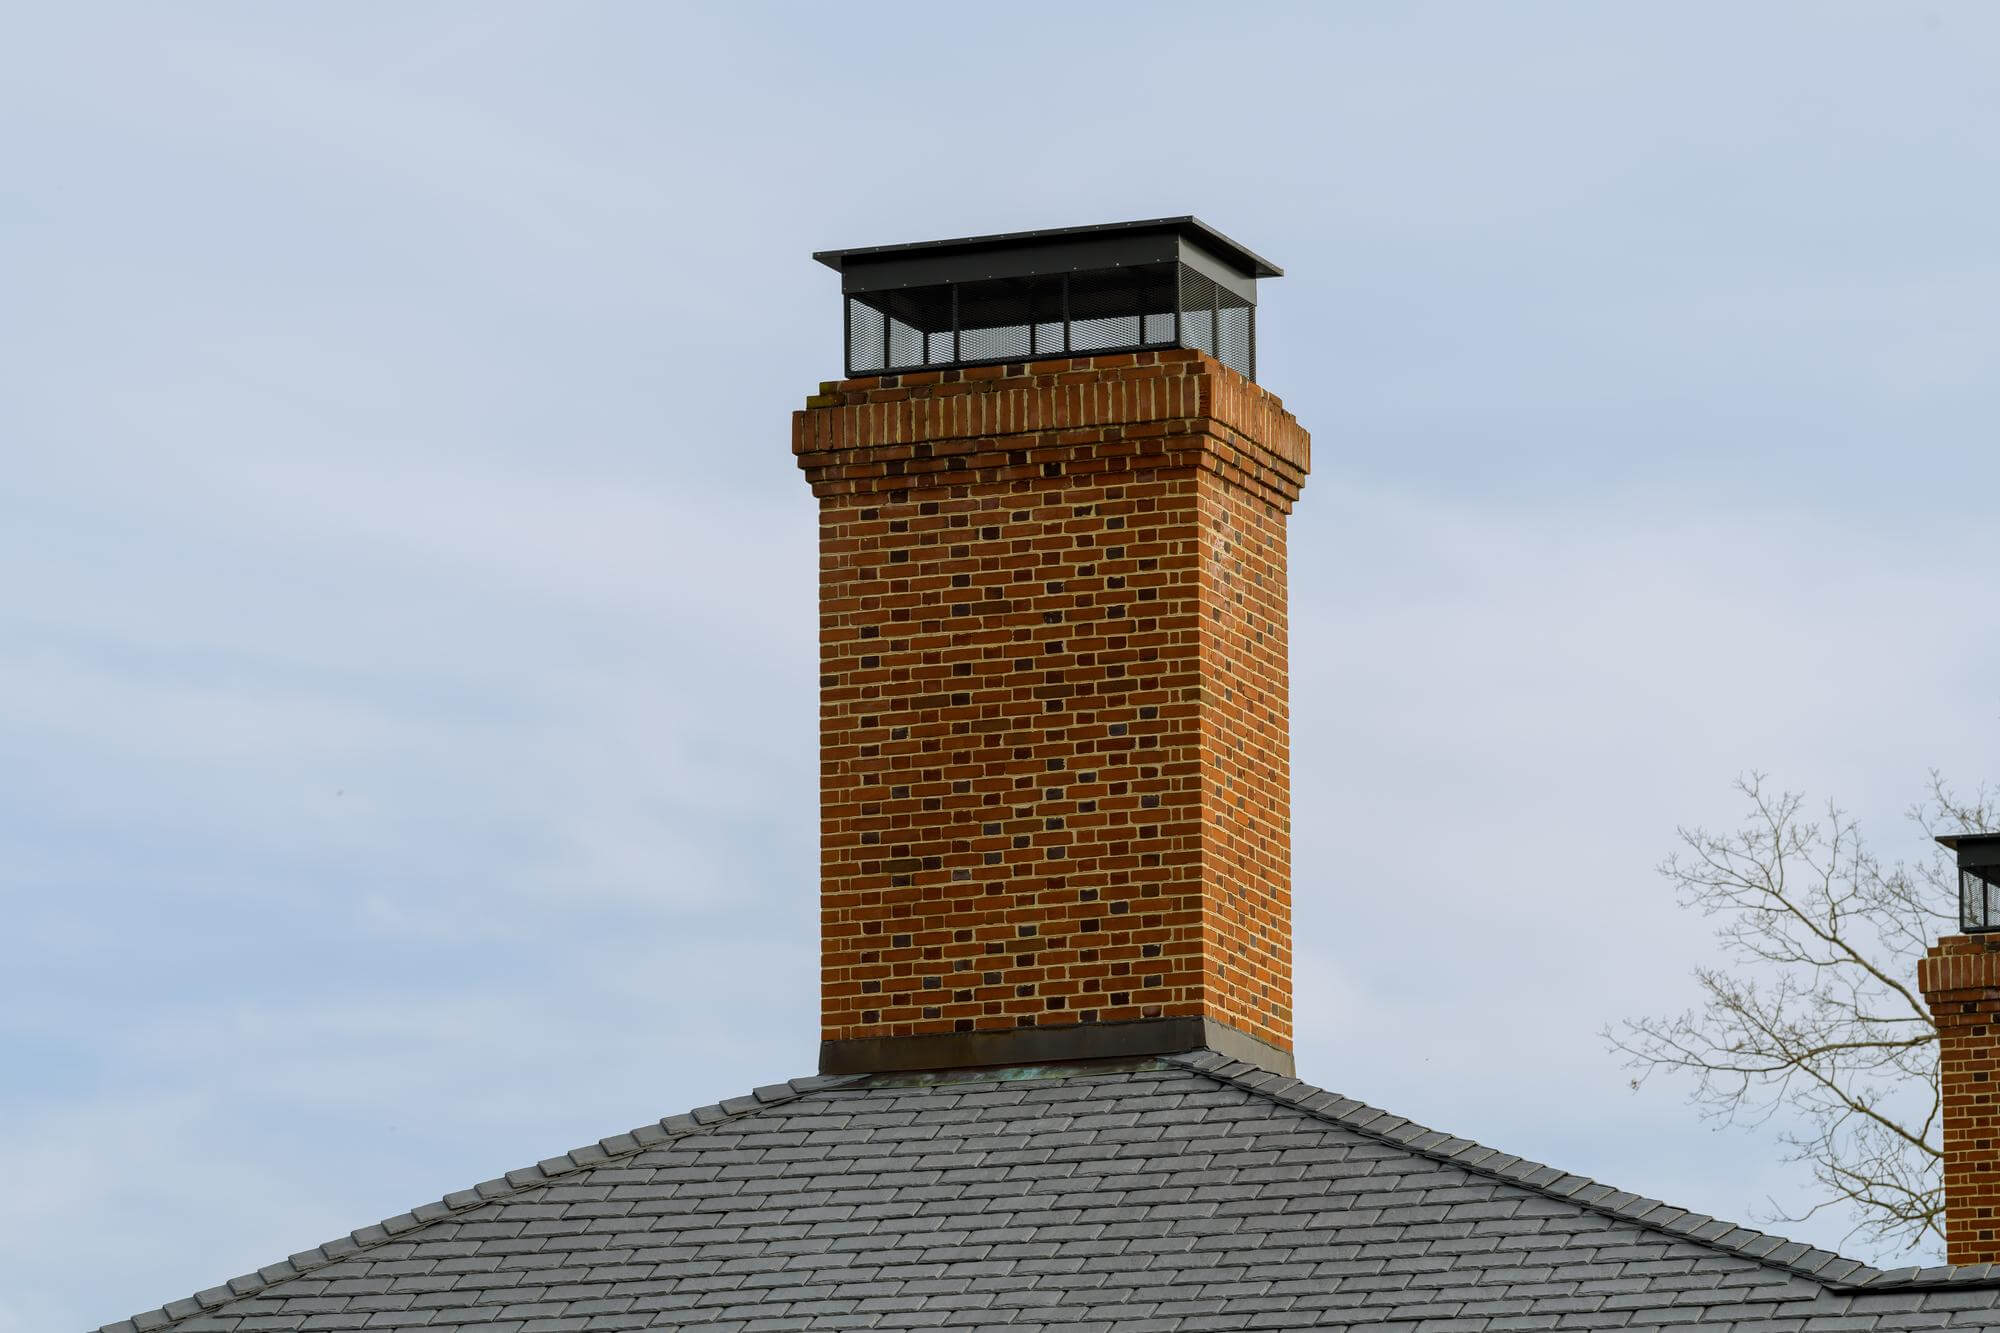
The chimney flashing creates a watertight seal between the roof and the chimney. If you’re noticing water leaks in your chimney, let us address them by fixing the flashing.
Is Your Existing Flashing Damaged? We Offer Chimney Flashing Repair
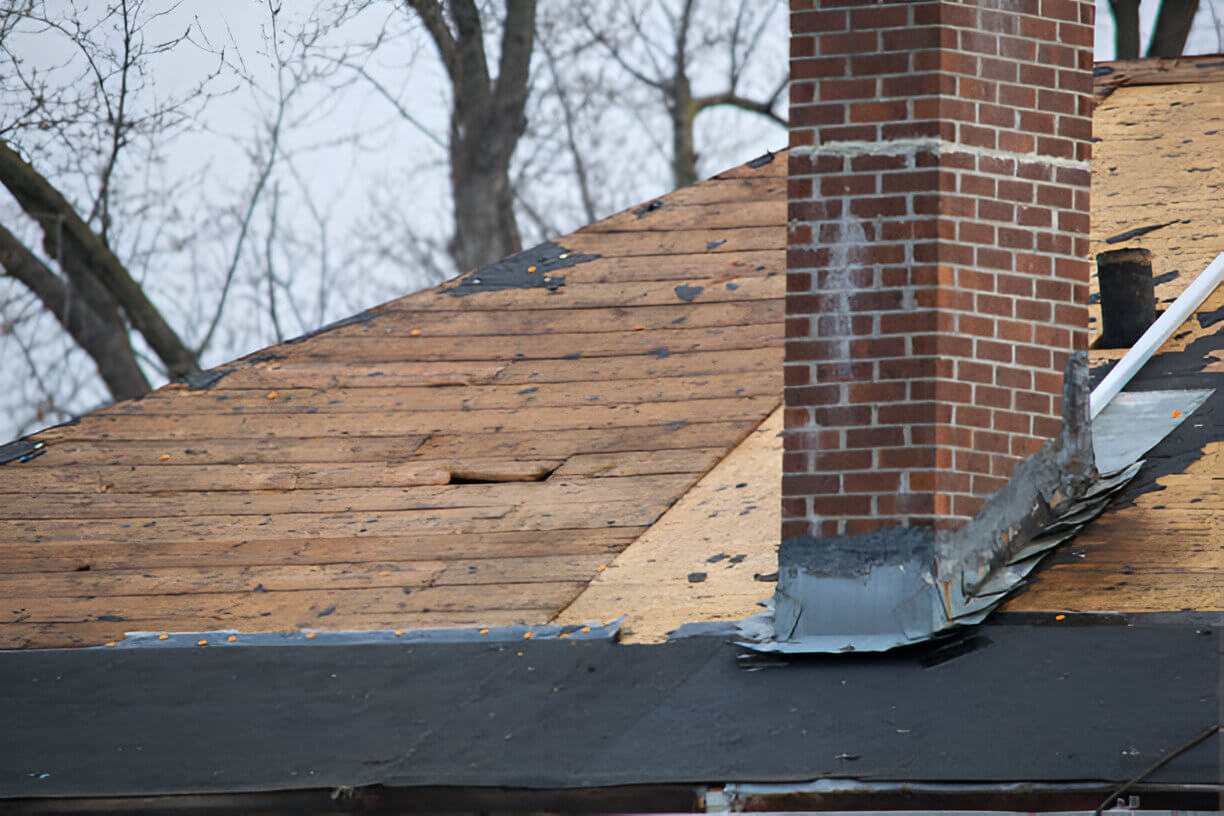
When it comes to chimney leaking problems, they all start with a minor sign. It could be the presence of water stains on the ceiling, a rotten smell coming from your fireplace, or cracks on the masonry. In most cases, the source of the problem is a chimney flashing that wasn’t installed correctly in the first place or extensive water infiltration that deteriorated the roof flashing.
Bob’s Chimney provides professional flashing repairs in your area, helping property owners maintain a chimney that diverts water and survives extreme weather throughout the year. Whether your chimney flashing is damaged because of heavy wind driven rain or general wear and tear, we have the technical expertise to fix it properly.
Make no compromises when it comes to the energy efficiency and structural integrity of your chimney. If you’re seeing signs of water damage, call us to schedule your chimney flashing leak repair.
Our Complete Process for Professional Chimney Flashing Repair
01
Chimney Inspection
We start off by checking the flashing, masonry, roof shingles, and associated components to assess the extent of the damage.
02
Removing Old Flashing
In case the old flashing is damaged, we remove it, along with any roofing cement, shingles, or old caulking that may be loose or damaged.
03
Prepping the Surface
The new flashing needs a proper surface. We achieve this by fixing damaged masonry, asphalt shingles, and addressing any leaks first.
04
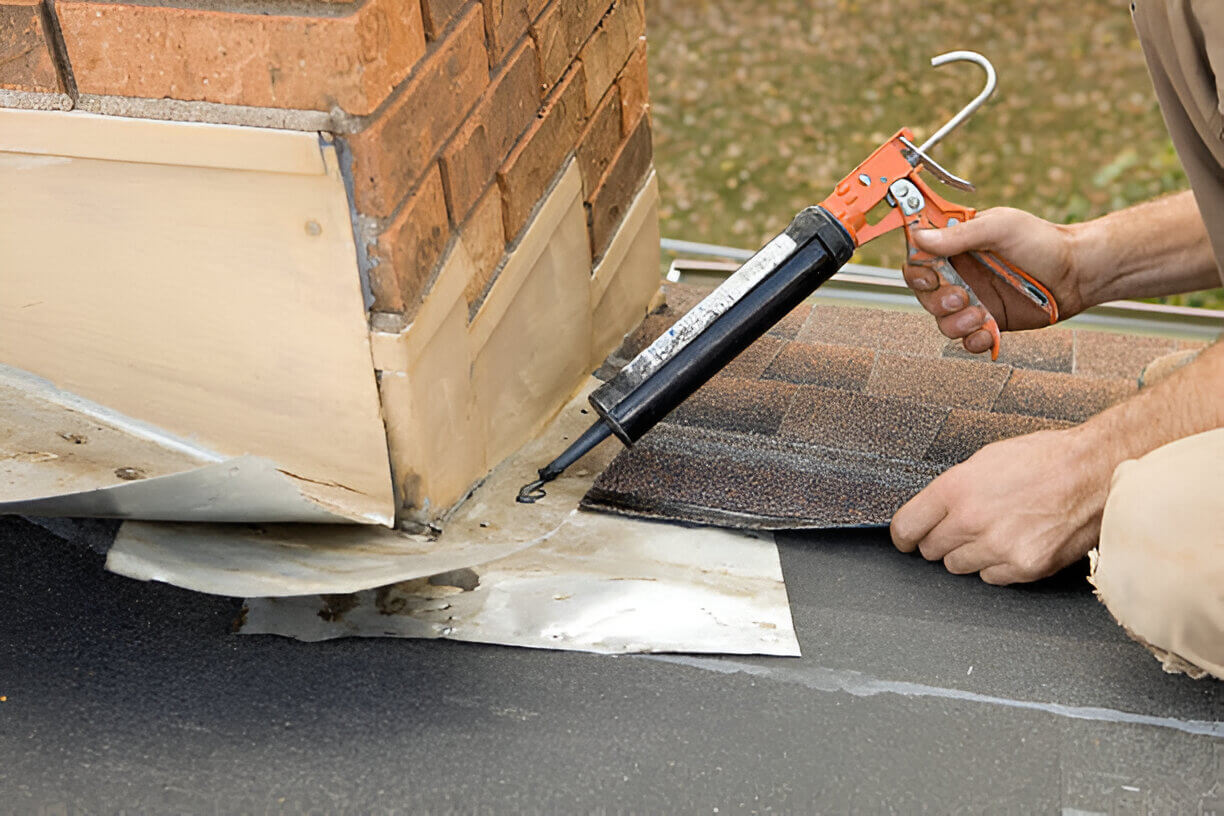
Installing New Flashing
We install the new flashing using high-quality sheet metal in materials like aluminum or copper, sealing it with commercial-grade caulk.
05
Final Inspection
Once the new flashing has been installed, we test if it’s diverting water effectively. We also seal any gaps in the structure, if they exist.
Need to repair flashing around the chimney without spending a fortune? Call us to get it done!
Understanding the Anatomy of a Chimney Flashing
01
Base Flashing
The base flashing is installed at the chimney’s base where it meets the roof. It helps by drawing rainwater away from the joint between the chimney and the roof.
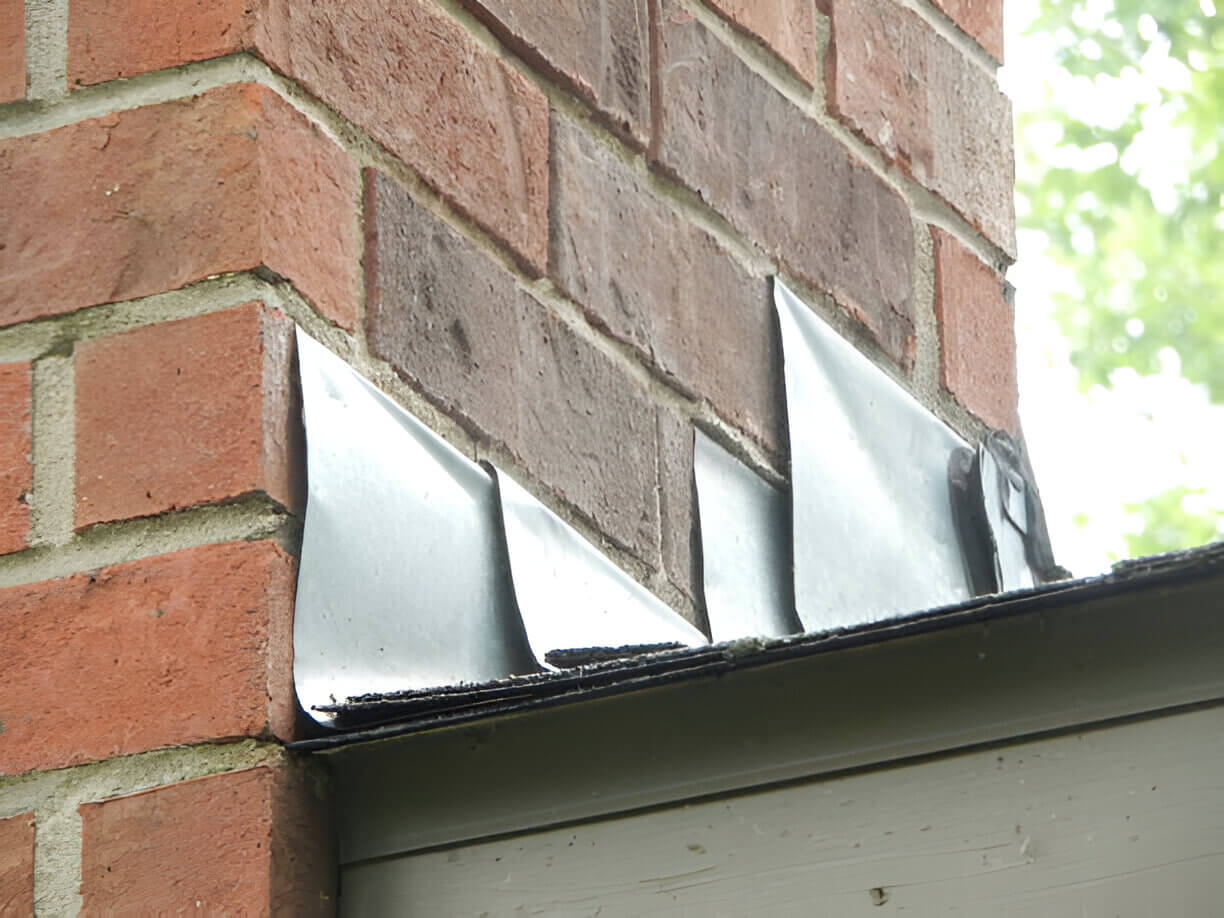
02
Step Flashing
Step flashing has an L shape. It is installed along the sides of the chimney and under the roof shingles. It guides rainwater down and away from these areas.
03
Counter Flashing
Counter flashing covers the step flashing. It is installed in a gap in the mortar structure. It mainly acts as an additional protective layer for the step flashing.
04
Apron Flashing
This is a metallic flashing, typically installed on the bottom of the chimney, along a sloped edge. It works by diverting water away from the joint and the roof.
Need a free quote for flashing leak repairs? Call us to get a transparent, no-obligation estimate!
What is the Cost of Chimney Flashing Repair?
Curious about how much it typically costs to fix chimney flashing? Here’s a breakdown to help you understand:
STEP 01
The cost of chimney flashing repair can vary depending on the extent of the damage and the type of materials needed.
STEP 02
Small repairs, such as resealing chimney flashing or patching minor gaps, are typically straightforward and can be completed quickly depending on the condition of the flashing.
STEP 03
Replacing step flashing or counterflashing is a more involved process and typically requires more time and materials than minor repairs. The final scope of work depends on the type of flashing, the extent of deterioration, and roof accessibility.
STEP 04
If the entire chimney flashing needs to be replaced, it typically involves a full removal and installation process, which can be more labor-intensive depending on roof design and material type.
Water Marks on Your Chimney Walls? Call Us to Schedule Chimney Roof Flashing Repair.
Signs of Chimney Leaking Issues That Necessitate a Flashing Repair
- Water stains near the fireplace or nearby walls and ceilings are red flags, often indicating that the roof flashing is damaged.
- Clogged or overflowing gutters, which means that the flashing is not diverting excess rainwater away from the building.
- Paint peeling off the walls or caulk deteriorating with time, which usually happens because of increased moisture levels.
- Masonry that is cracking or crumbling apart may indicate that the step flashing or base flashing is damaged.
- Extreme rust or corrosion on the aluminum and copper flashing which means that the material has weakened significantly.
- Ice dams forming on the chimney or roof shingles. This causes water to leak into the roof, attic, ceiling, and walls if not fixed.
- Water gradually pooling in the attic or the chimney chase cover, which happens when the flashing fails to repel water.

Frequently Asked Questions
How often should chimney flashing be inspected professionally?
We recommend annual inspections for chimneys to ensure their proper functionality. A professional inspection involves checking all the parts of the chimney and addressing any necessary repairs on the spot.
What's the difference between chimney flashing and roof flashing?
Chimney flashing is a specific flashing type that is installed on the base of a chimney. Roof flashing, on the other hand, is an umbrella term referring to any form of flashing on the roof.
What's the best material for chimney flashing?
It depends on your needs. Copper is a highly durable material choice, but it can be slightly on the costlier side. Galvanized steel and aluminum are also viable options that offer decent protection when installed correctly. Call Bob’s Chimney to get a free quote.